How to Use No More Nails Adhesive for Your DIY Projects?
When approaching DIY projects, the choice of adhesive can make or break your efforts. "No More Nails Adhesive" is a versatile option that has gained popularity among both hobbyists and professionals. According to industry expert John Smith, “Using No More Nails Adhesive can transform your projects, but proper application is key.”
This adhesive is designed for a variety of surfaces, providing strong bonds without the need for nails or screws. Whether you're working on wood, metal, or ceramic, it promises a hassle-free experience. However, it’s essential to apply it correctly. A common mistake is using too much adhesive, which can lead to an unsightly mess or inadequate drying time.
Furthermore, while No More Nails Adhesive is reliable, it’s not infallible. Some surfaces may require preparation to ensure optimal adhesion. Learning these nuances will enhance your results. Embracing both the potential and limitations of this adhesive can elevate your DIY game. Understanding how to properly use No More Nails Adhesive is crucial for achieving professional-looking results.
Understanding No More Nails Adhesive: Overview and Benefits
No More Nails Adhesive is a versatile solution for various DIY projects. This adhesive eliminates the need for traditional nailing and screwing methods. It bonds different materials effectively, such as wood, metal, ceramic, and plastic. Users appreciate its ease of application and quick bonding time. This means less waiting and more doing.
One notable benefit is its strong hold, which is particularly helpful in mounting heavy objects. However, it's essential to ensure that surfaces are clean and dry prior to use. A common mistake is applying too much adhesive, leading to visible excess that can be unsightly. A small bead can suffice and provides a clean finish.
Additionally, the adhesive is waterproof, making it suitable for both indoor and outdoor projects. However, remember that temperature and humidity can affect its performance. If conditions are extreme, bond strength might diminish. It's worth experimenting with small projects before tackling larger ones. Understanding these factors can significantly enhance your DIY experience with this adhesive.
Choosing the Right No More Nails Adhesive for Your Project
When selecting a No More Nails adhesive for your DIY projects, consider the materials you will be working with. Different compositions suit various surfaces, such as wood, metal, or plastic. Understanding the right adhesive ensures stronger bonds and better results. If you’re unsure, reviewing the product’s specifications can provide insight into its best applications.
Think about the setting conditions, too. Environmental factors like humidity and temperature can affect adhesion. Some adhesives perform better in damp areas, while others excel in dry environments. Testing a small sample can help determine if it meets your needs. It’s easy to overlook these details, but they can make a significant difference in the outcome.
Sometimes, users may struggle with application techniques. Applying too much adhesive can lead to messiness, while too little may not hold adequately. Practicing on scrap materials can help refine your skills. Remember that even experienced DIYers have their moments of doubt. Embracing this learning curve can ultimately lead to improved results in your projects.
Preparing Your Surfaces for No More Nails Adhesive Application
Preparing your surfaces is crucial when using adhesive for DIY projects. A clean, dry surface promotes better adhesion. Start by removing old paint, dust, and grease. Use a scraper or sandpaper to ensure the area is smooth. Any imperfections can lead to weak bonds, compromising your work.
Next, consider the material types. Different surfaces react differently to adhesives. For instance, wood, metal, and plastic require specific preparations. Test a small area first. This ensures compatibility. Sometimes, a primer may enhance adhesion on tricky surfaces.
Lastly, be patient with your preparations. Skipping steps can lead to frustrating mistakes later. The effort spent on surface preparation is often the difference between a successful project and one that fails. Take your time. Reflect on past projects. What worked? What didn’t? This practice improves your approach.
How to Use No More Nails Adhesive for Your DIY Projects? - Preparing Your Surfaces for No More Nails Adhesive Application
| Surface Type |
Preparation Steps |
Recommended Tools |
Drying Time |
Curing Time |
| Wood |
Clean and sand the surface to remove any oil or dust. |
Sandpaper, Clean Cloth |
20-30 minutes |
24 hours |
| Brick |
Remove loose mortar and dust, dampen surface. |
Wire Brush, Water Spray |
30 minutes |
48 hours |
| Metal |
Clean surface of rust and grease, sand if necessary. |
Wire Brush, Cloth, Sandpaper |
15-20 minutes |
72 hours |
| Plastic |
Clean with isopropyl alcohol to remove contaminants. |
Cloth, Isopropyl Alcohol |
10-15 minutes |
24-48 hours |
| Glass |
Thoroughly clean surface with glass cleaner. |
Glass Cleaner, Cloth |
5-10 minutes |
48 hours |
Applying No More Nails Adhesive: Step-by-Step Instructions
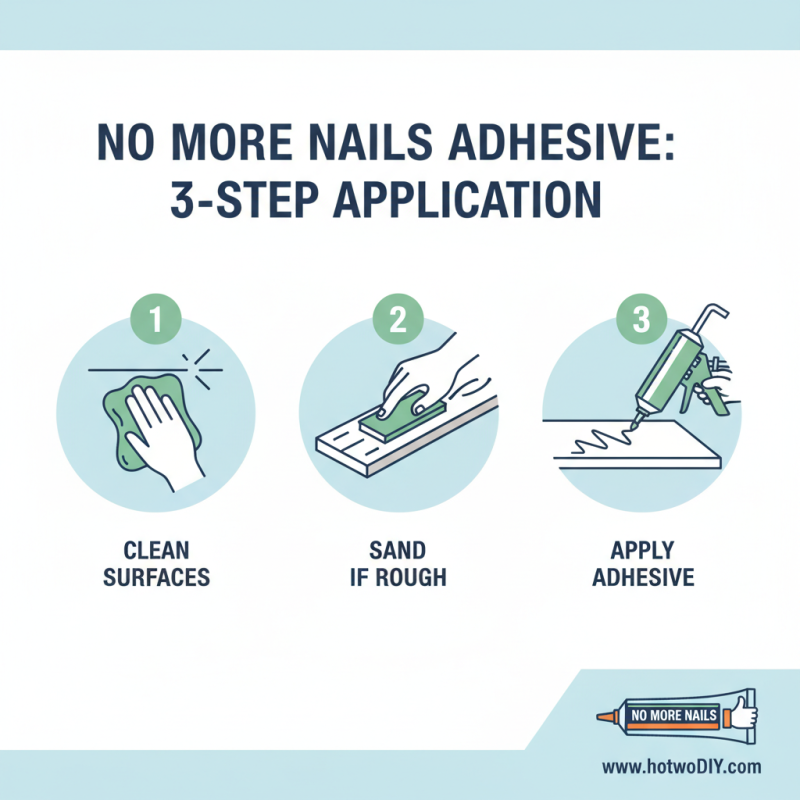
Applying No More Nails Adhesive can be straightforward with the right approach. Start by preparing your surfaces. Clean them thoroughly to remove dust and grease. This step is crucial for a strong bond. If the surfaces are rough, consider sanding them lightly to enhance adhesion.
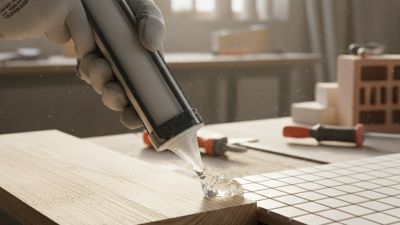
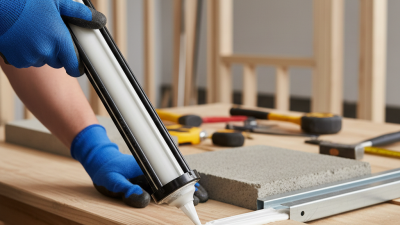
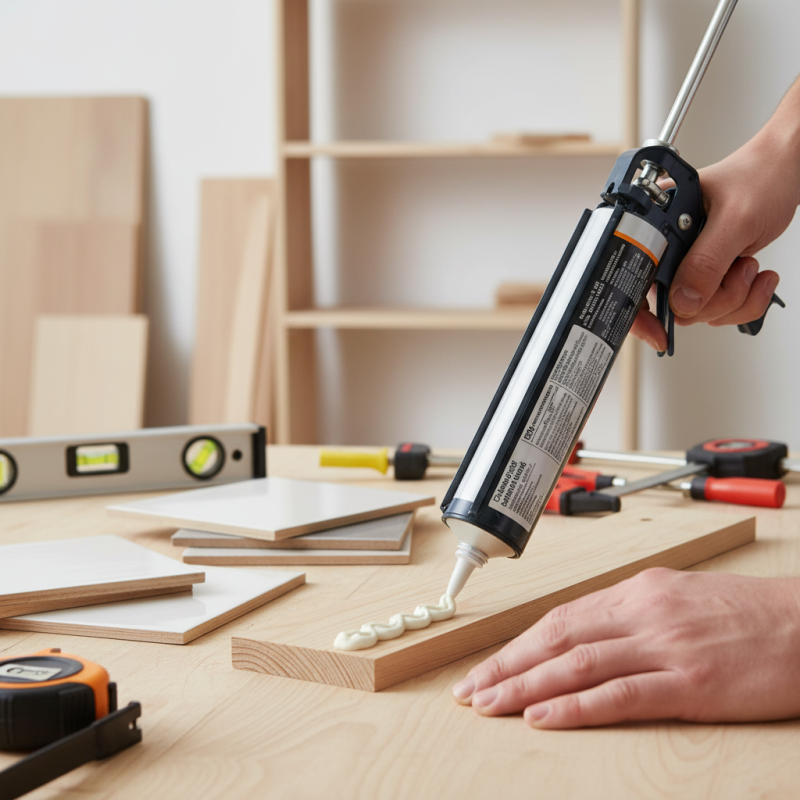
Next, apply the adhesive to one surface in a zigzag pattern or in dots. Avoid overapplying, as excess can ooze out when pressed together. Press the two surfaces firmly together and hold them for a few seconds. In some cases, you may notice a small amount of misalignment. If that happens, gently adjust the pieces while the adhesive is still fresh.
Don’t rush the curing process. Allow the adhesive to dry fully according to package instructions. It may take longer in humid conditions. If the bond feels weak after drying, reflect on your application technique. Ensure you are using enough adhesive and that both surfaces are properly prepared. With practice and attention, you can achieve professional results in your DIY projects.
Tips for Achieving a Strong Bond and Ensuring Durability
When working on DIY projects, achieving a strong bond is crucial. No More Nails adhesive can be a game-changer. However, using it effectively takes some knowledge. Follow these tips to ensure your projects remain durable.
Preparation is key. Clean both surfaces thoroughly before applying the adhesive. Dust and grease can weaken the bond. Use a damp cloth to wipe surfaces. If they are porous, consider lightly sanding them. This creates more grip for the adhesive.
While applying, avoid using too much glue. A thin, even layer is often sufficient. Press the pieces together firmly and hold them for a few seconds. This pressure helps the adhesive bond better. It's essential to check the curing time. Some adhesives need several hours to set properly. Rushing this step can lead to disappointing results.
Lastly, let your project cure undisturbed. Save yourself from potential frustration by ensuring that no weight is placed on the adhesive joints too soon. Sometimes, it might feel like the bond is strong before it's fully cured. Patience here is vital, as a little extra time can lead to a better outcome.
Strength of Bonding with No More Nails Adhesive Across Various Materials